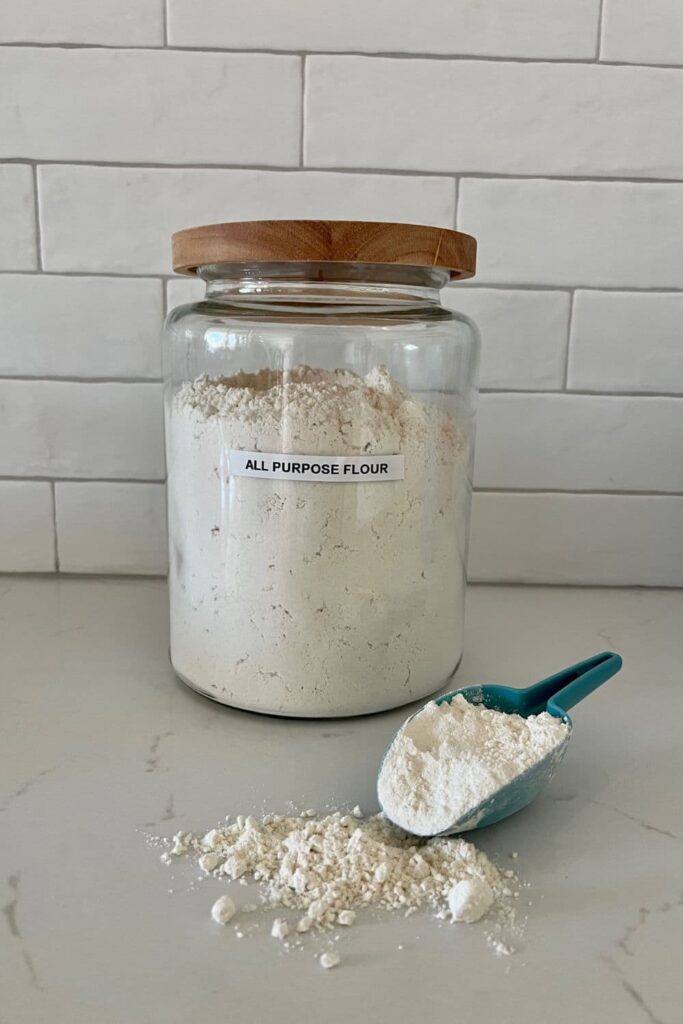
Introduction

Welcome to Sourdough 101—your step-by-step introduction to caring for a sourdough starter and baking delicious homemade bread.

This walkthrough covers the fundamentals, from
feeding and maintaining your starter to mixing, proofing, and baking your first loaf, with simple
explanations designed to build confidence as you learn. flavorful homemade bread.

Flour Mixture

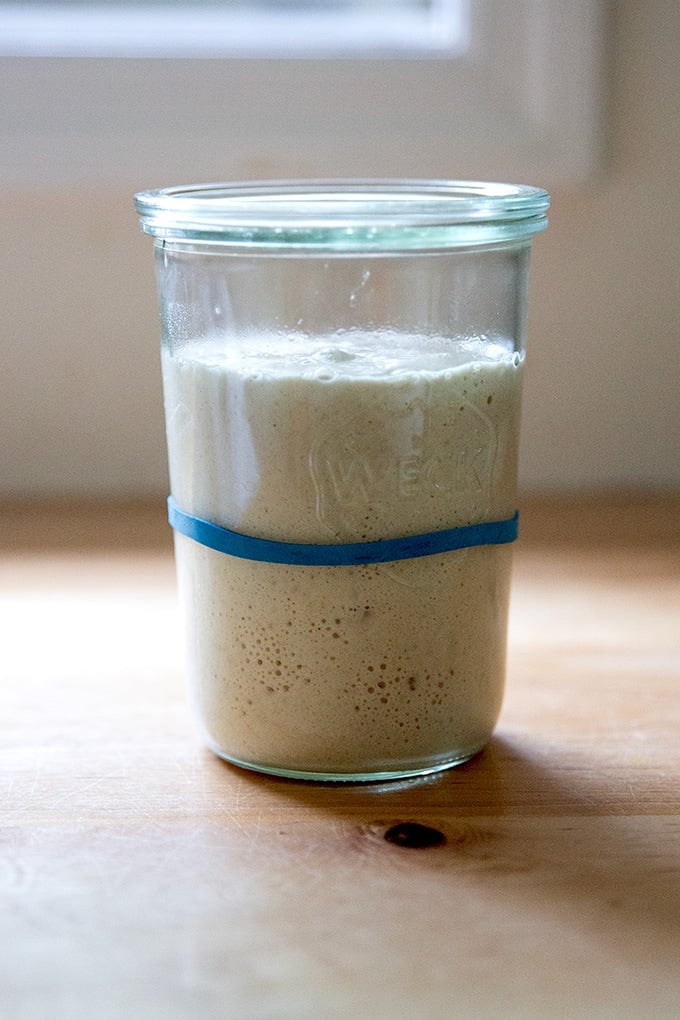
To keep your sourdough starter healthy, you’ll need to feed it regularly with fresh flour.

My personal flour mixture is:

  • 1 cup bread flour
  • ½ cup whole wheat flour

This combination provides both strength and nutrients for your starter. You’re encouraged to experiment—rye flour is an excellent option and often increases fermentation activity.

Feeding Your Starter

If you are baking regularly (ever week or two) with your starter, there is no need for additional feedings.
Once it has been stored in the refrigerator for more than a two weeks, follow the directions below to feed it using a 1:2:2 ratio (starter : water : flour).

Bi-Weekly Feeding Method

  1. Add 10 grams of starter to a clean jar.
  2. Stir in 20 grams of filtered water.
  3. Add 20 grams of your flour mixture and mix well.
  4. Cover with a loosely fitted lid and let rise at room temperature for 8–12 hours.
  5. Once bubbly, return the starter to the refrigerator.

Any starter that is removed during feeding is called discard. Discard can be used in many recipes such as pancakes, crackers, and muffins.


Making the Bread

Ingredients (One Loaf)

  • 100 grams active sourdough starter
  • 350 grams filtered water
  • 10 grams salt
  • 500 grams bread flour

Before You Bake

Feed your starter the night before baking with a 1:5:5 ratio so it is active and bubbly. If making two loaves, feed additional flour and water to ensure enough starter, this means feed 20 grams starter, 100 grams of water and 100 grams of your flour mixture. You should have 20 grams left over to store for next time you bake.

Baking Instructions

  1. Mix the starter and water in a large bowl until mostly dissolved.
  2. Add salt, then flour, and mix until combined. The dough will appear shaggy.
  3. Cover and rest the dough for 30 minutes.
  4. Perform a set of four stretch and folds.
  5. Repeat the rest and stretch-and-fold process three more times.
  6. Allow the dough to sit covered (I like to use a shower cap) for 6–10 hours, until slightly jiggly and bubbly, this step is called bulk fermentation. Use this video to help you guage when bulk fermentation is complete.
  7. Shape the dough, cover loosely, and refrigerate for 12–24 hours to improve flavor, this is the cold proof step.
  8. Preheat the oven to 450°F with a Dutch oven inside for at least 30 minutes.
  9. Score your bread
  10. Bake your loaf inside the dutch over with the lid on for 35 minutes.
  11. Remove lid, reduce heat to 425°F, and bake another 15–20 minutes until the loaf reaches about 200°F internally.
  12. Cool for at least 2 hours before slicing.

Questions and Comments

If you have any questions or comments, please reach out to us!